Binocular Holder for a Wheelchair User
December 11, 2013Cost: $51 to $100
Time Needed: 3 to 5 hours
Skill Level: Intermediate
Functional Abilities/Limitations: Difficulty in Handling and Fingering, Difficulty Reaching with Arms, Loss of Upper Extremity Skills
About
Our client battles quadriplegia and multiple sclerosis. She is unable to move her body below her neck and lives in a single family house in the Boston area. A professional, daily personal care assistant and her family and friends help our client conquer each day. Additionally, she utilizes many assistive technologies to control her household things such as her computer, windows, doors, and lights. Our client's enthusiasm for these technologies emanated the first time we met her; however, there was help missing in a particular area of her life--her hobbies! Before her disabilities, she enjoyed bird watching on a weekly basis. Presently, neither her help from others nor her power wheelchair and voice controlled Environmental Control Unit allows her to hold and adjust binoculars. This semester, we tackled this problem of our client's inability to bird watch with a level of control and independence.Step 1: Make measurements.
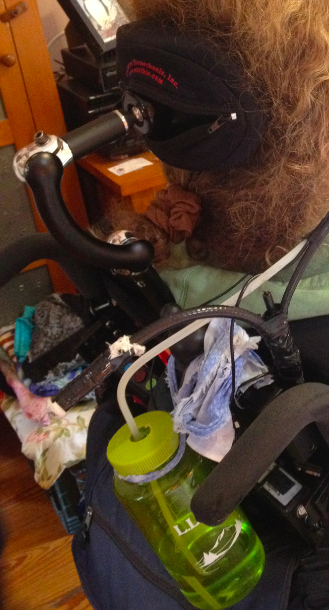
The chair should have a headrest with a bar upon which you can clamp the device. (use picture)
a) Measure the distance between the center of the headrest’s horizontal bar and the user’s head to get the length of horizontal support 1.
b) Measure the distance from the center of the user’s head to the desired center of the binoculars to get the length of horizontal support 2.
c) Measure the distance between the headrest bar and ~3in above the user’s head for the length of the vertical support.

Step 2: Assemble PVC support system.
a)Cut PVC pipe to the dimensions measured.
b) Insert the wood pieces into the PVC pipes for added support. The wood should be wide enough to be held by the pipe from friction alone.
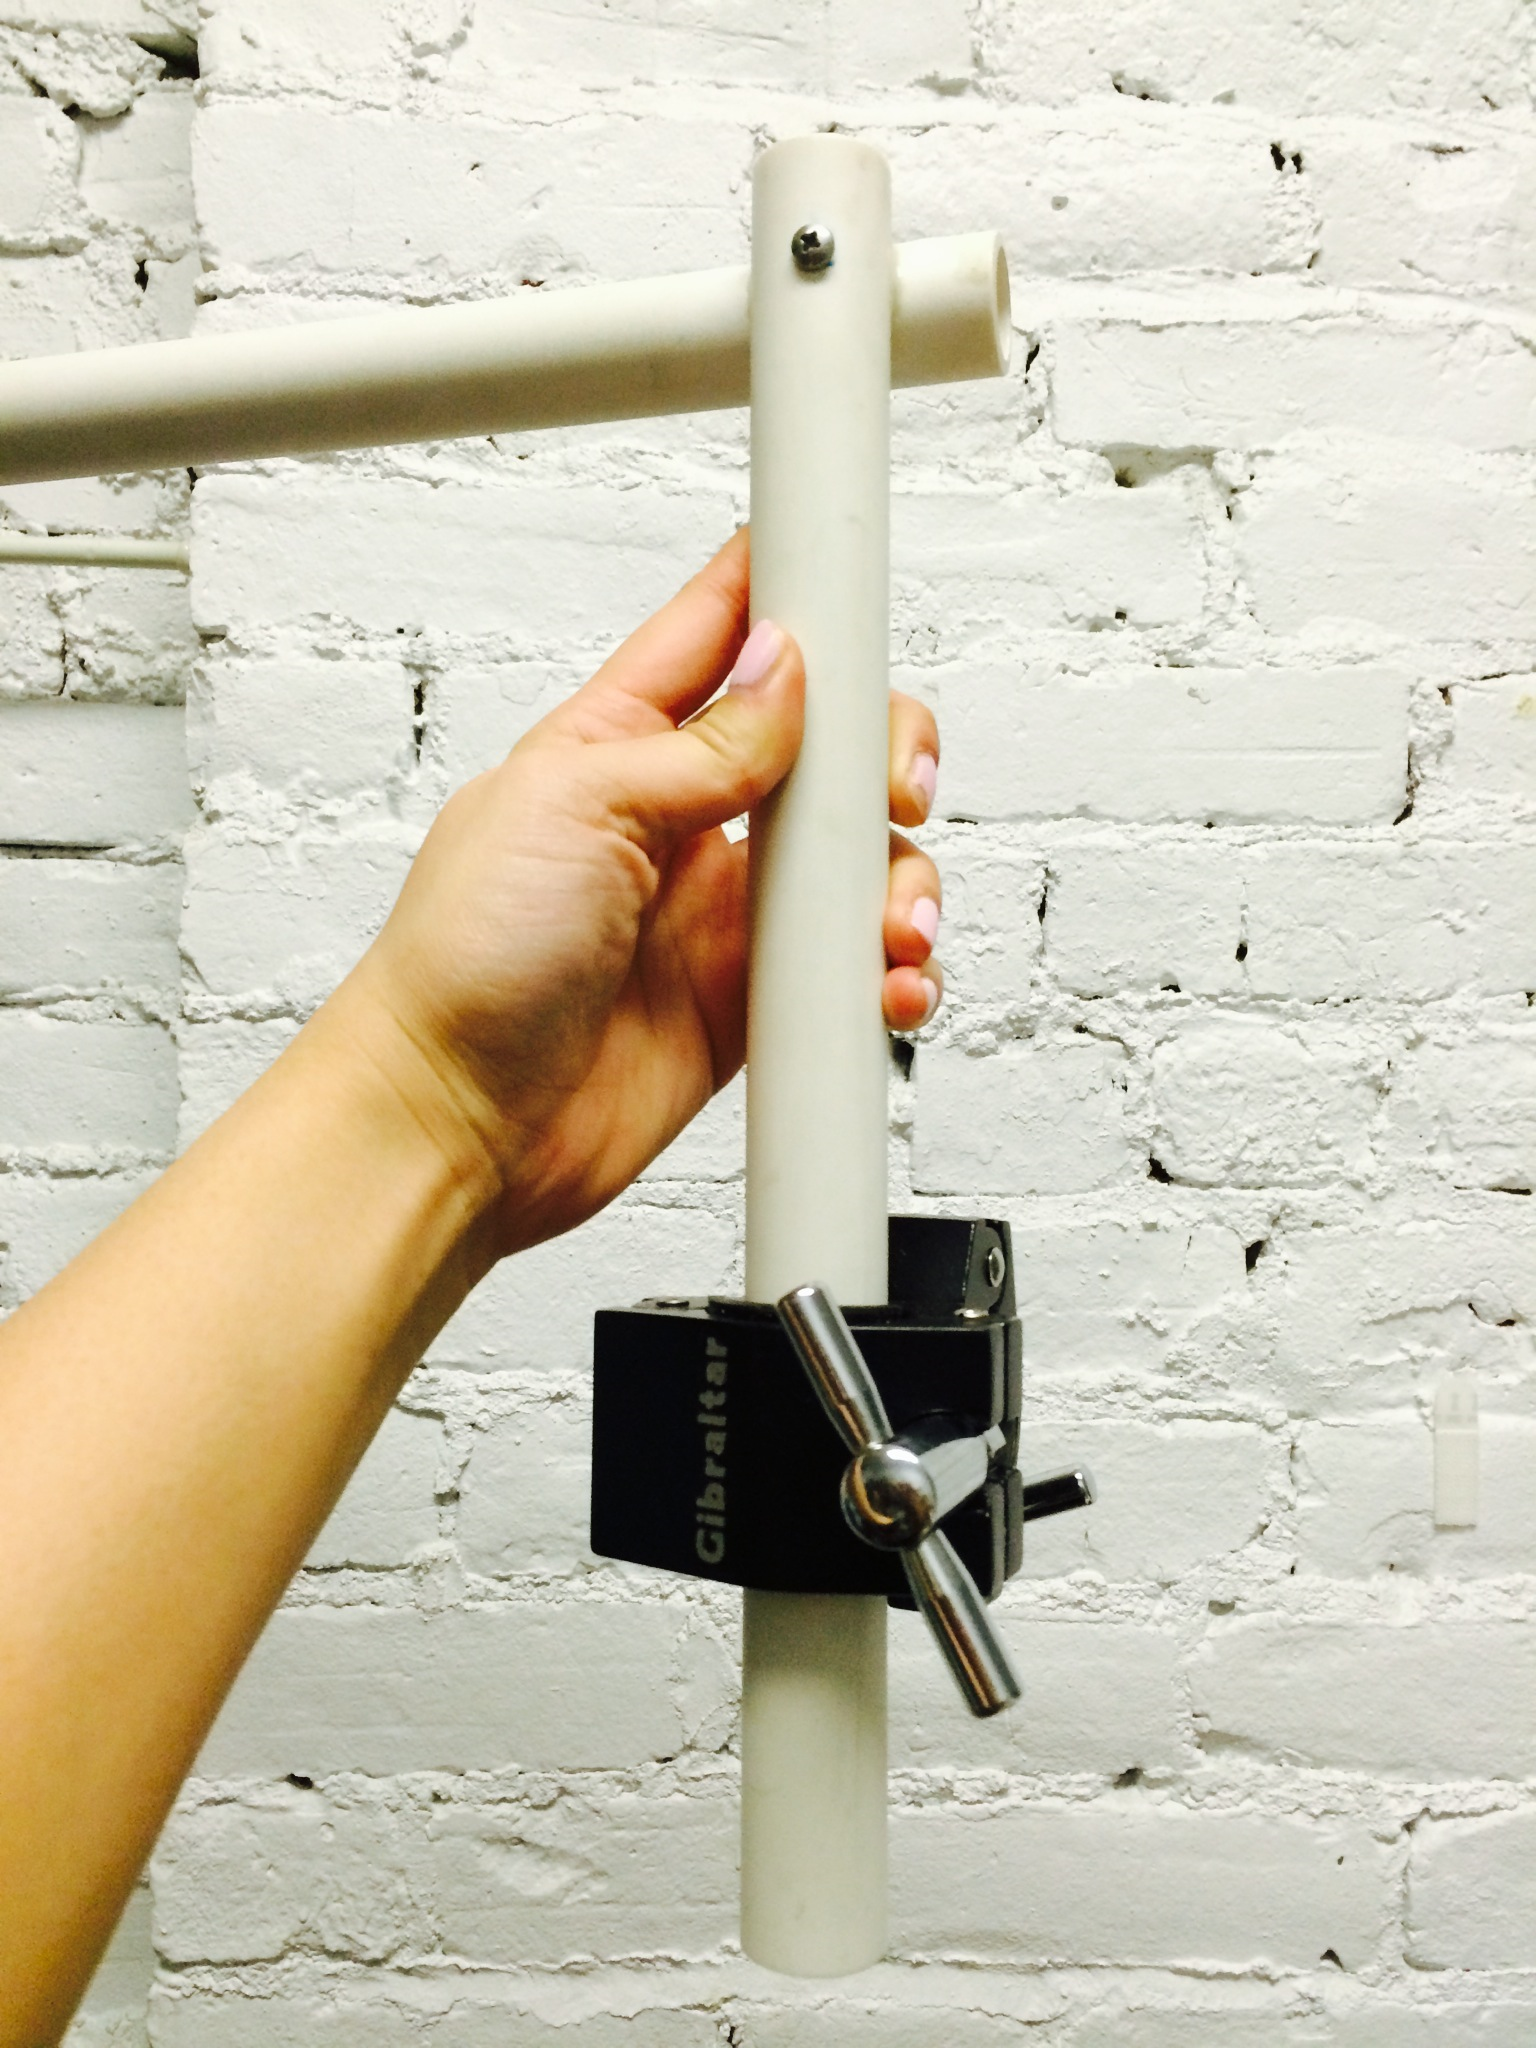
c) Using a mill, cut a notch on the outside of horizontal support 1 as depicted.
d) Use the epoxy to stick the vertical support to the horizontal support.
e) When the epoxy dries, drill and tap a ¼ in bolt hole and bolt into the connection for added stability.

Step 3: Assemble the flexible link
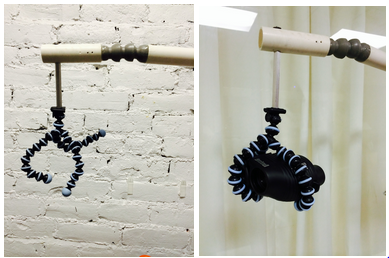
a) Sand down 2 individual Snap-Loc links until desired amount of friction is reached.
b) Using epoxy, attach each end of the Snap-loc segment to the PVC horizontal support 1 and 2.
Step 4: Assemble the binocular attachment
a) Drill M4 hole into small hexagonal aluminium piece and tap it for an M4 bolt on both sides. This will be the binocular attachment piece.
b) Place the screw through horizontal support 2 and into the binocular attachment piece.
c) Screw the gorillapod into the bottom end of the binocular attachment piece.
d) Wrap the arms of the gorillapod around the binoculars you wish to use.

Step 5: Create Mouthstick
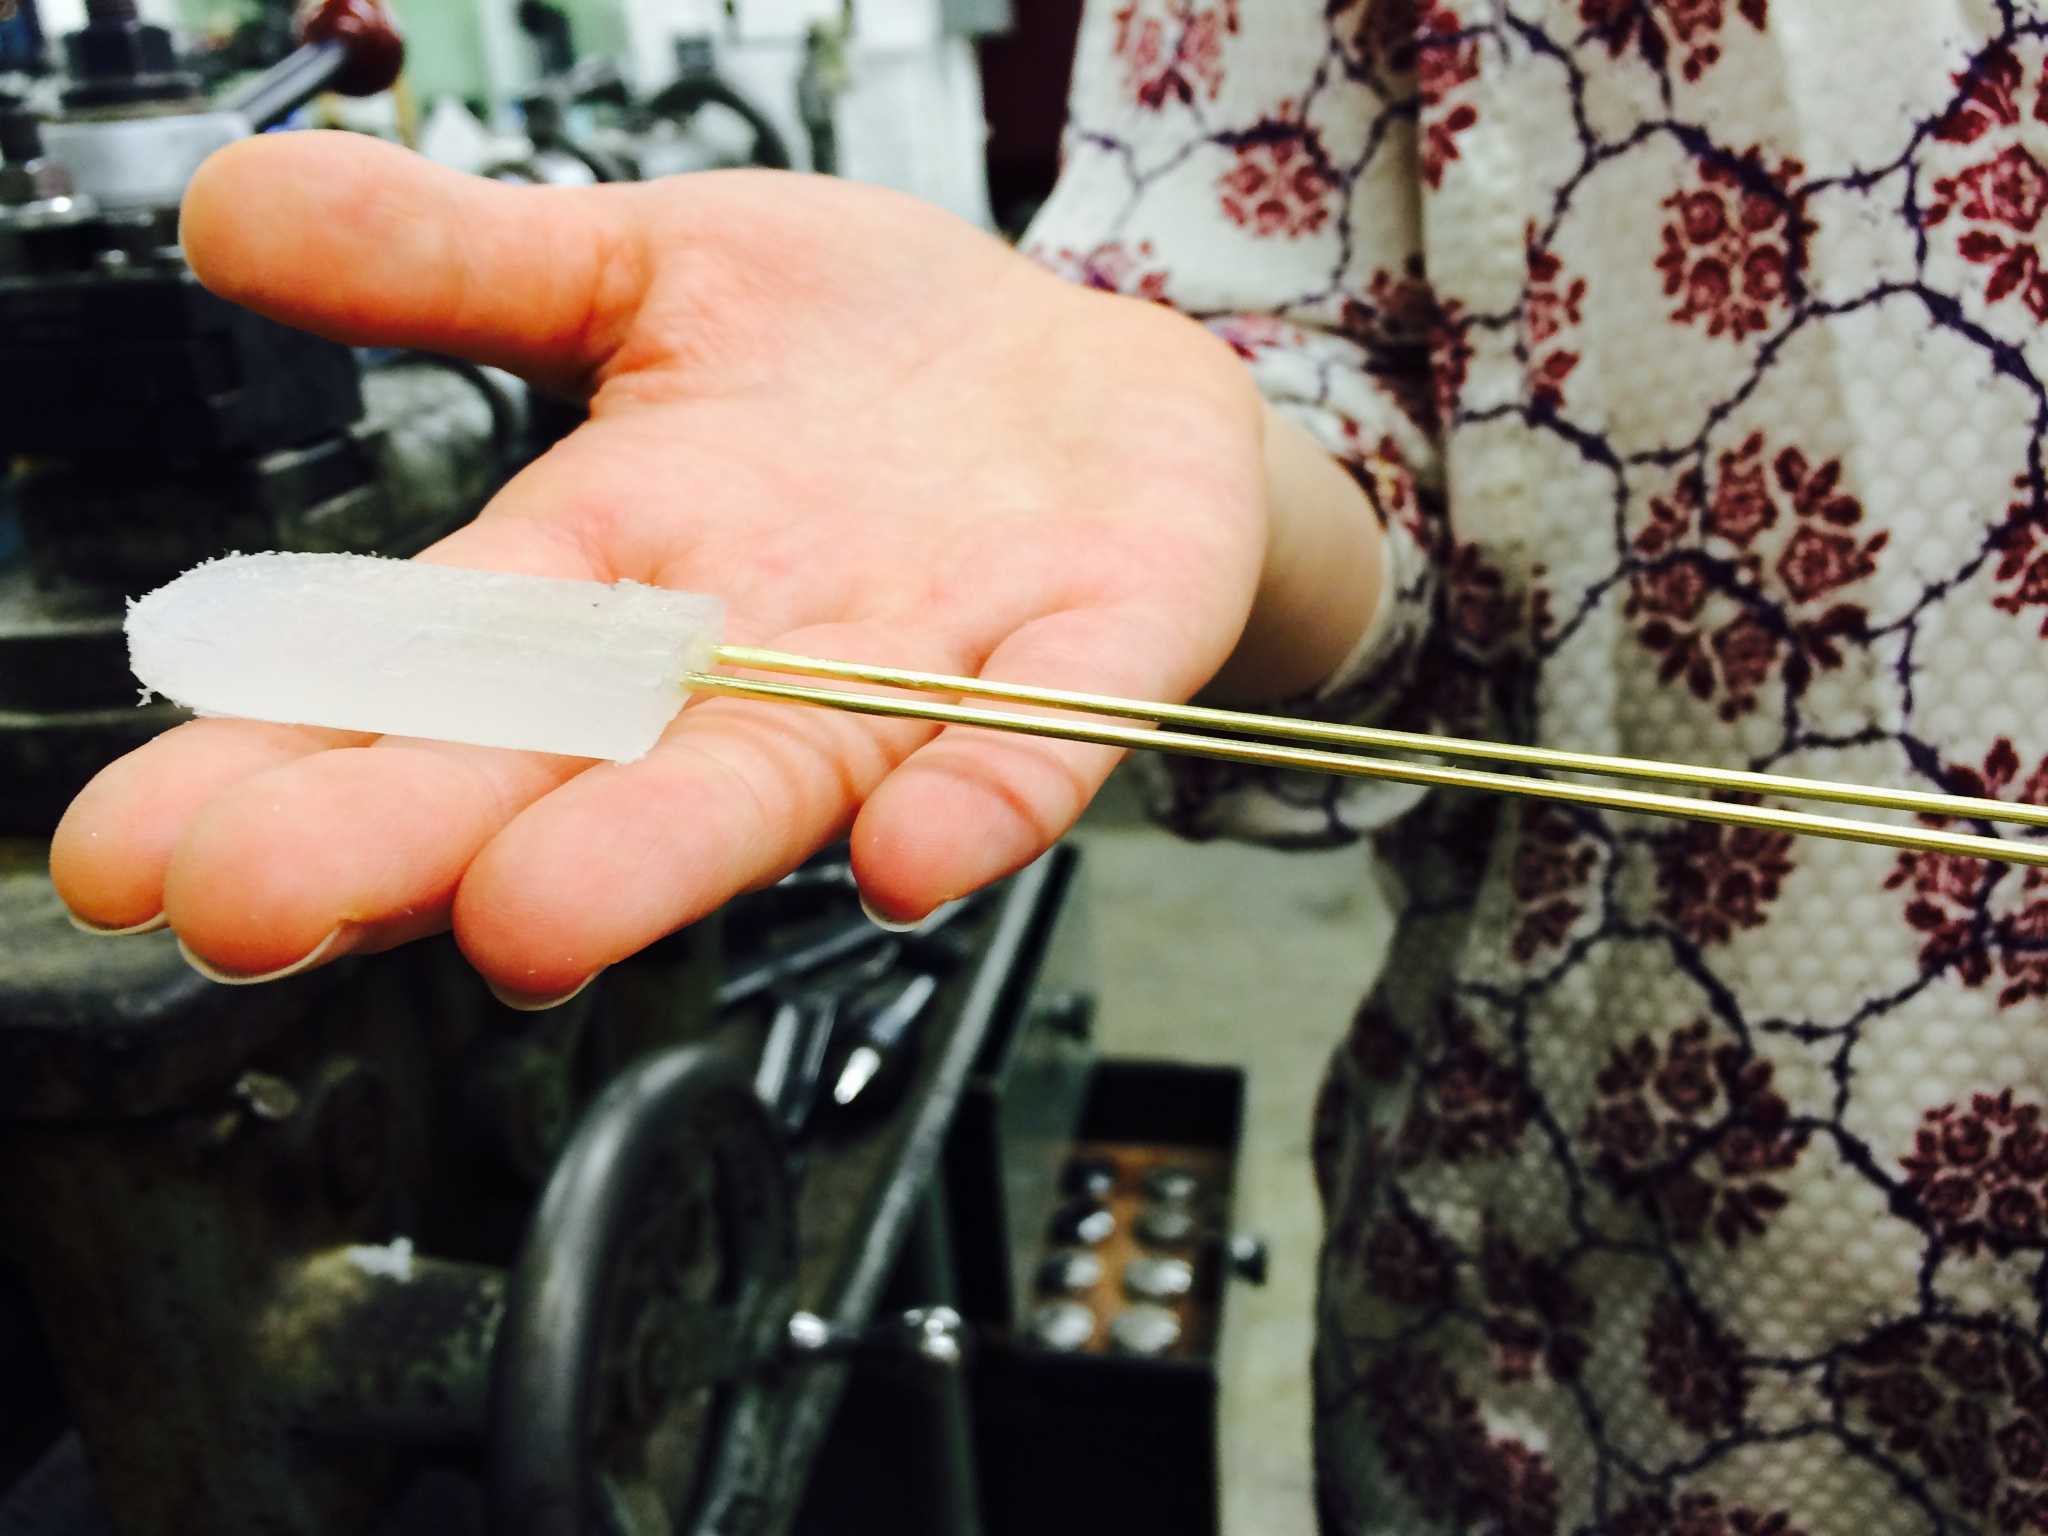
a) Cut desired mouthstick shape out of hard plastic.
b) Wrap hard plastic with soft rubber for mouth comfort.
c) Drill holes in plastic and attach brass rods with epoxy.
c) Rigidly attach ends of brass rod to PVC in desired position.

Tools Required
- Saw (bandsaw or similar)
- Milling Machine
- Drill Press
- Lathe
- Measuring tape/Ruler
- Sandpaper
- Screwdriver
Materials Required
- 1 in. outer diameter PVC pipe (4+ ft.)
- 0.85 in. outer diameter cylindrical wood pieces: trim to appropriate width with a lathe if needed (4+ ft.)
- ¼ in. diam. by 2 in. bolts (2)
- ½ in. inner diameter Snap-Loc (3 links, available from McMaster-Carr with Product #5307K96)
- Epoxy
- Gorillapod “Original” (1, available at http://joby.com/gorillapod)
- Binoculars, self-focussing recommended (1)
- Clamp, >1in. diameter (1) (we used: http://www.amazon.com/Gibraltar-SC-GRSRA-Series-Right-Angle/dp/B0002F78QC)
- Rubber padding, hard plastic, and brass rods for mouthstick
Safety Precautions
As always, be safe when using machine tools.
Leave a Reply
You must be logged in to post a comment.